Posted in NewsTagged , , , , , , , , ,

Temporary Vehicle Graphics for Leased, Rented, or Short-Term Fleet Assets

Not every company owns every vehicle it puts on the road.

Some fleets include leased vans. Others use rented vehicles for seasonal demand, special events, regional launches, acquisitions, overflow capacity, or short-term campaigns. As a result, brand teams and fleet managers often face the same problem: the vehicle needs to look branded, but the graphics cannot stay there forever.

That is where temporary vehicle graphics can help.

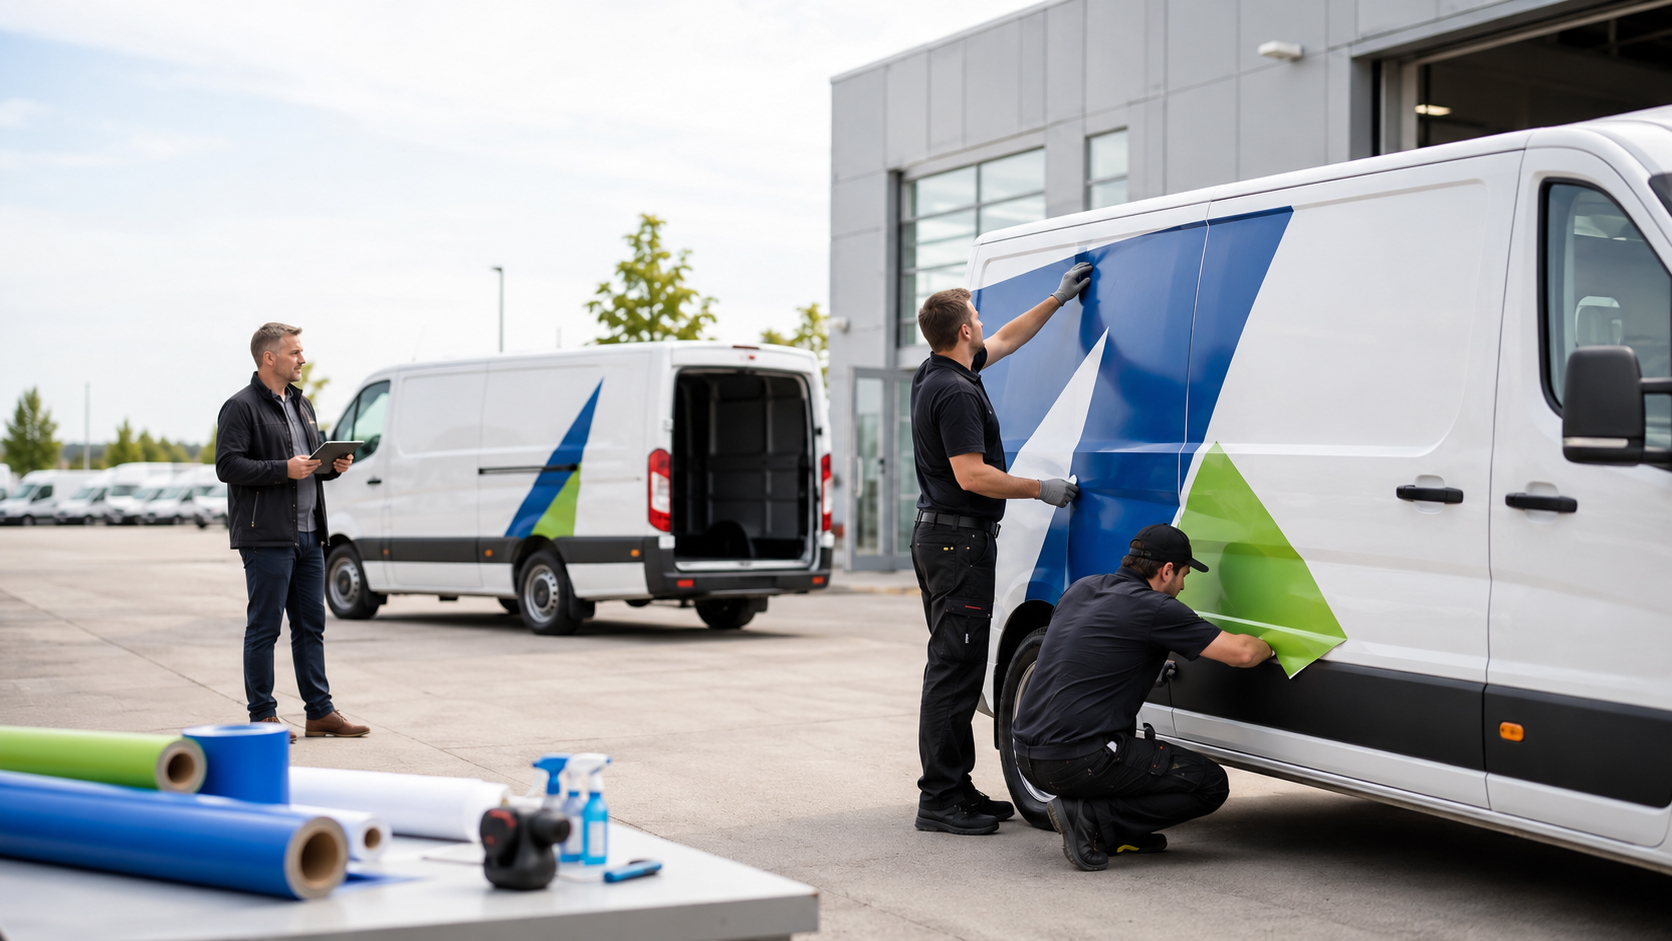
Instead of treating every fleet asset like a permanent wrap project, companies can use removable or changeable graphics to support short-term needs. They can brand a leased vehicle, promote a campaign, cover a seasonal route, or create consistency across a mixed fleet without committing to a permanent graphics solution.

However, temporary does not mean careless. The graphics still need to look professional, stay in place, come off cleanly, and protect the brand while the vehicle is in use.

Why Vehicle Graphics Matter for Modern Fleets

Fleet ownership has changed.

Many companies no longer rely only on vehicles they own outright. Instead, they may lease vehicles, rent units during busy seasons, use temporary assets after an acquisition, or add vehicles quickly when demand spikes.

That flexibility helps operations move faster. However, it also creates a branding problem.

A rented white van, an unmarked leased box truck, or a mismatched temporary vehicle can weaken the brand experience. Customers may not recognize the company. Drivers may arrive in vehicles that look unfinished. Local teams may improvise with magnets, decals, or inconsistent graphics.

Temporary vehicle graphics give companies a way to solve that problem without overcommitting.

When Temporary Graphics Make Sense

Temporary graphics work best when the vehicle has a limited purpose, limited ownership window, or limited branding need.

For example, companies may use temporary vehicle graphics for:

  • Leased fleet vehicles
  • Rental vans or trucks
  • Seasonal delivery demand
  • Short-term service routes
  • Event vehicles
  • Pilot programs
  • Regional launches
  • Temporary acquisitions
  • Franchise or branch transitions
  • Campaign-specific promotions
  • Vehicles waiting for a permanent rebrand
  • Overflow units during peak demand

In each case, the company needs the vehicle to look credible and brand-right while it is on the road. At the same time, the company may need to remove the graphics later without damaging the vehicle or violating lease terms.

Temporary vs. Permanent Wraps

Permanent fleet graphics work well when the company owns the vehicle, plans to keep it in service, and wants long-term brand consistency.

Temporary vehicle graphics solve a different problem.

They help companies brand vehicles when the timeline, ownership, or business purpose may change. For that reason, they usually focus on flexibility, clean removal, and efficient installation.

A permanent wrap may make sense for a core fleet vehicle that will represent the brand for years. However, a temporary graphic may work better for a leased van, rental truck, seasonal route, or short-term campaign.

The right choice depends on how long the vehicle will stay in service, who owns it, what the lease allows, and how visible the vehicle will be to customers.

Temporary Wraps for Leased Vehicles

Leased vehicles create one of the most common use cases for temporary graphics.

A company may need the vehicle to represent the brand every day, but the lease may restrict permanent changes. Before adding graphics, fleet managers should review the lease agreement and confirm what types of non-permanent branding the lessor allows.

In many cases, removable vehicle graphics can give companies a practical option. 3M specifically notes that temporary graphic wraps can help companies brand leased trucks and vans with removable wrap films.

Even so, teams should not assume every leased vehicle works the same way. Before installation, they should confirm the lease terms, vehicle condition, paint quality, material choice, removal plan, and return requirements.

Graphics for Rental Vehicles

Rental vehicles create another challenge.

A company may need extra capacity for a few days, weeks, or months. However, a rental vehicle often arrives with no branding at all. That can create problems when drivers visit customer sites, make deliveries, or support a public event.

Temporary vehicle graphics can help rental assets look more professional and consistent with the rest of the fleet.

Still, rental vehicles require extra care. Companies should confirm whether the rental agreement allows graphics. They should also choose materials designed for short-term use and plan removal before the vehicle returns.

The goal is simple: make the rental vehicle support the brand while it works, then return it cleanly when the job ends.

Promotional Wraps for Seasonal Campaigns

Seasonal demand often forces companies to add vehicles quickly.

Retail, food service, delivery, logistics, home services, healthcare, utilities, and event-driven businesses may need more vehicles during peak periods. However, those vehicles may not stay in the fleet long enough to justify permanent graphics.

In that case, temporary vehicle graphics can support the season without creating long-term commitments.

For example, a company may use short-term graphics for a holiday campaign, summer service push, product launch, local event, or limited-time offer. 3M describes changeable graphic films as a flexible option for short-term needs, including seasonal campaigns and rentals.

That flexibility matters because the campaign can end, the graphics can come off, and the base vehicle can move on to its next use.

What to Consider Before Using Temporary Vehicle Graphics

Temporary graphics still need planning.

Before installation, fleet managers and brand teams should answer a few practical questions:

  • Who owns the vehicle?
  • What does the lease or rental agreement allow?
  • How long will the graphics stay on the vehicle?
  • What condition is the paint in?
  • Does the vehicle need cleaning, repair, or prep first?
  • Will the graphics need to withstand weather, washing, or road grime?
  • Who will remove the graphics?
  • Where will removal happen?
  • What proof does the company need before and after installation?
  • Does the design need to match permanent fleet graphics?

These questions prevent temporary branding from becoming a permanent headache.

Why Material Choice Matters for Temporary Vehicle Graphics

Material choice matters because temporary graphics need to do two things well: stay on the vehicle during use and come off when the job ends.

A short-term graphic still has to handle road conditions, washing, sun exposure, weather, and daily use. At the same time, the material should support clean removal based on the vehicle surface, timing, and application.

That is why companies should not treat temporary graphics like basic stickers. The material, adhesive, laminate, surface prep, and removal plan all affect the final result.

If the team chooses the wrong material, the graphics may fail early, leave residue, damage the surface, or take too long to remove.

Temporary Vehicle Graphics Still Need Brand Standards

Temporary should not mean inconsistent.

Even when graphics stay on a vehicle for a short time, they still represent the company in the field. Customers do not know whether a van is leased, rented, temporary, or permanent. They only see the brand.

Because of that, temporary vehicle graphics should still follow brand standards.

That includes logo placement, colors, message hierarchy, phone numbers, URLs, safety markings, and any regional or compliance requirements. If the temporary vehicle works beside permanent fleet vehicles, the design should feel intentional, not improvised.

Temporary Vehicle Graphics Can Help During Rebrands and Acquisitions

Temporary graphics can also help during messy transition periods.

After a merger, acquisition, or rebrand, companies may not have every vehicle ready for a permanent update. Some vehicles may retire soon. Others may belong to a lease program. Some may need body work before graphics installation. Others may operate in markets that need a faster brand change.

In those situations, temporary vehicle graphics can bridge the gap.

They can cover old marks, introduce the new brand, or create a more consistent fleet appearance while the company works through the larger rollout.

That does not replace a full rebrand plan. However, it can reduce confusion while the permanent program catches up.

Temporary Vehicle Graphics Need a Removal Plan

Many companies plan the installation but forget the removal.

That creates problems later.

Before temporary graphics go on the vehicle, the team should know when they need to come off, who will remove them, where removal will happen, and how the vehicle should look afterward.

This matters most for leased and rented vehicles. If the vehicle has to return in a certain condition, removal becomes part of the project, not an afterthought.

A strong temporary graphics plan includes:

  • Installation date
  • Expected removal date
  • Material used
  • Vehicle condition before install
  • Proof photos after install
  • Removal location
  • Removal responsibility
  • Final condition photos

That record helps protect the brand, the vehicle, and the team managing the asset.

How Signature Helps With Temporary Vehicle Graphics

Signature Graphics helps brands and fleet teams manage temporary vehicle graphics when ownership, timing, or vehicle use does not fit a permanent wrap.

That may include leased vehicles, rental assets, short-term campaigns, seasonal fleet needs, acquisition transitions, or vehicles waiting for a larger rebrand rollout.

Signature helps teams plan the graphics, match the brand standards, coordinate installation, document completion, and think through removal from the beginning.

The goal is simple: make temporary vehicles look intentional while they represent the brand, then keep the process organized when those graphics need to change or come off.

FAQs About Temporary Vehicle Graphics

What are temporary vehicle graphics?

Temporary vehicle graphics are removable or changeable graphics designed for short-term use on cars, vans, trucks, trailers, or other fleet assets. Companies often use them for leased vehicles, rental assets, seasonal campaigns, events, or short-term branding needs.

Can you put temporary vehicle graphics on a leased vehicle?

Often, yes, but the fleet manager should check the lease agreement first. The company should confirm what the lessor allows, choose the right removable material, and plan removal before the vehicle returns.

Can you brand a rental vehicle?

Sometimes. It depends on the rental agreement and the graphics material. Companies should confirm approval before installation and choose graphics that support clean removal.

How long do temporary vehicle graphics last?

The timeline depends on the material, vehicle surface, weather exposure, cleaning, and campaign length. Some temporary or changeable films can support short-term use, while others may last longer depending on the application. 3M notes that some changeable graphic films can have expected performance life up to two years, though companies often use them for shorter periods.

Do temporary vehicle graphics damage paint?

The right material and proper installation/removal process can reduce risk. However, paint condition matters. Older paint, poor repairs, rust, peeling clear coat, or previous damage can increase the chance of problems during removal.

Are temporary vehicle graphics better than magnets?

It depends on the vehicle, timeline, brand standards, and use case. Magnets may work for very simple short-term needs, but removable graphics usually look more integrated and professional when the vehicle needs to represent the brand consistently.
Posted in NewsTagged , , , , , , , , ,

Rebranding after merger? Don’t forget your fleet.

When companies go through rebranding after merger or acquisition, the brand conversation usually starts in the boardroom.

What name will we use? Which logo stays? What changes for customers? How do we explain the new company to the market?

Those questions matter. However, once the strategy is approved, the real work begins. The new brand has to show up everywhere people see the company. That includes websites, sales materials, uniforms, buildings, signage, offices, and one of the most visible assets in the business: the fleet.

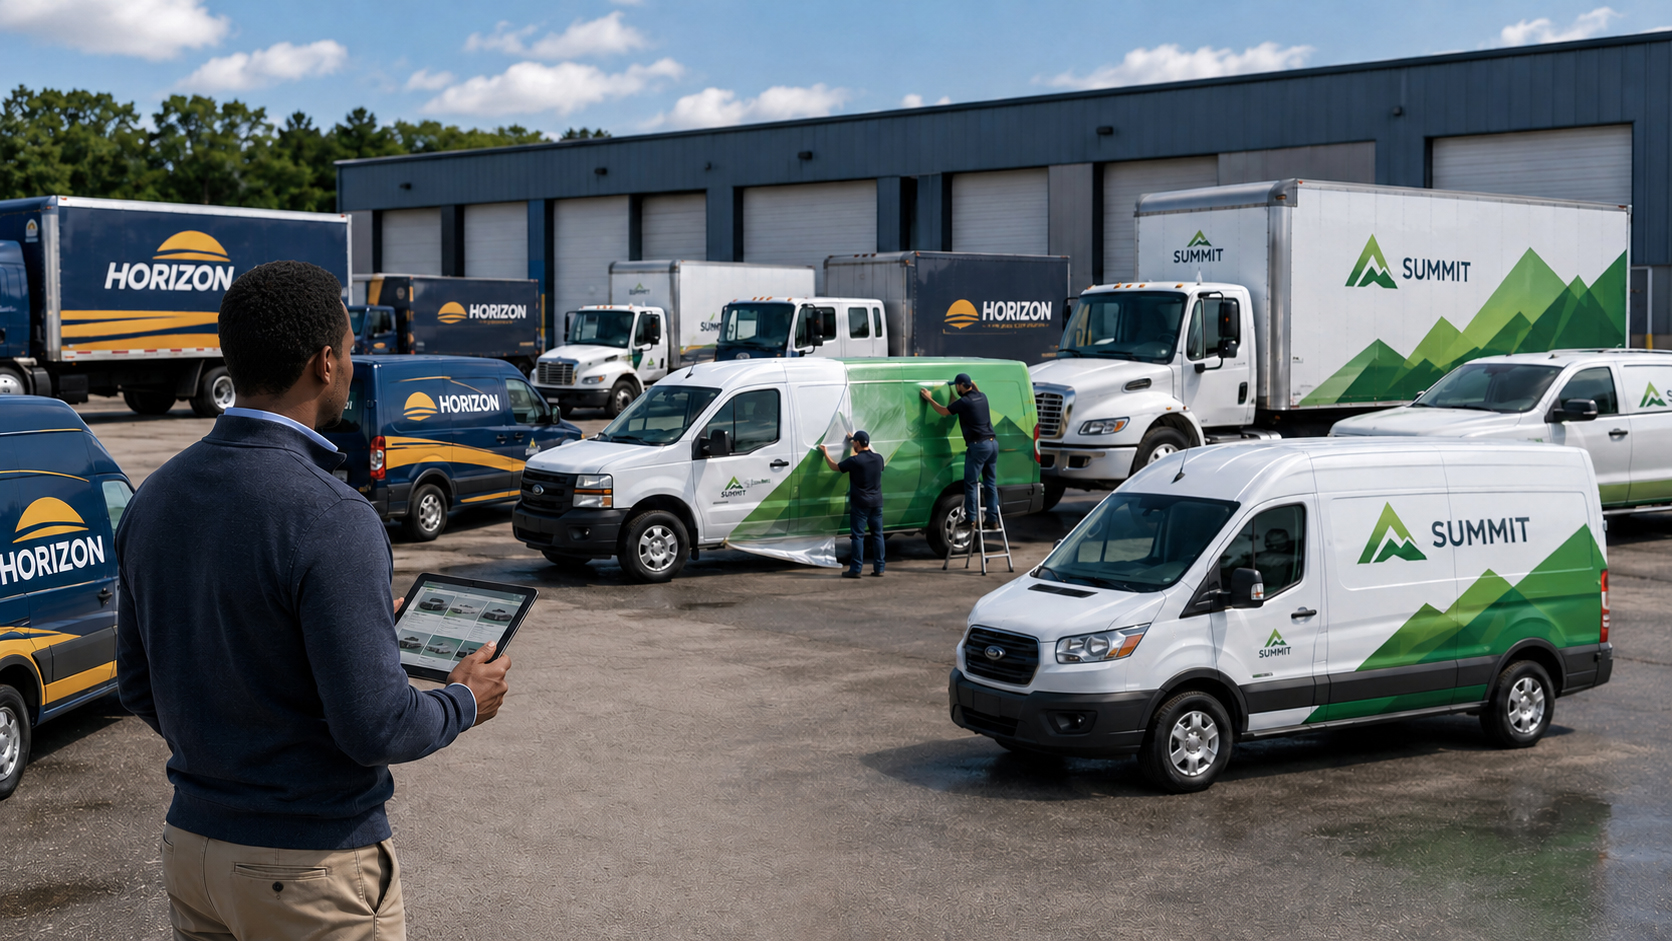
For companies with vehicles on the road, rebranding after a merger can get complicated fast. A fleet may include different vehicle types, old logos, local phone numbers, outdated graphics, acquired assets, regional vendors, missing records, and vehicles spread across multiple markets.

If no one plans for that early, the fleet can become one of the most visible places where the rebrand falls apart.

Why Rebranding After Merger Gets Complicated for Fleet Branding

A merger or acquisition rarely creates a clean starting point.

Instead, it usually brings together different companies, different operating habits, and different brand systems. One company may have newer graphics. Another may have older decals that local teams ordered years ago. Some vehicles may follow brand standards closely. Others may carry branch-specific messages, phone numbers, service lists, or legacy marks.

As a result, the fleet becomes a moving inventory of brand history.

That creates a real challenge for brand owners, fleet managers, operations teams, and private equity-backed companies. Everyone wants the market to see one stronger company, but the assets on the road may still tell a different story.

Why Rebranding After Merger Starts With Unknown Fleet Assets

Most fleet rebranding problems start with a simple issue: the company does not know exactly what it has.

After an acquisition, the fleet list may not match reality. Some vehicles may sit at branch locations. Others may work in the field every day. Some may have changed assignments, moved markets, or gone through repairs without anyone updating the records.

Before a company can rebrand the fleet, it needs to answer basic questions:

  • How many vehicles need new graphics?
  • Where are they located?
  • What type of vehicles are they?
  • What graphics are currently on them?
  • Which vehicles should be updated first?
  • Which vehicles will leave the fleet soon?
  • Which assets need removal, replacement, or temporary branding?

Without that information, teams start making assumptions. Then timelines slip, budgets change, and vehicles keep showing up in the market with the wrong brand.

Mixed Fleets Create Mixed Brand Impressions

Acquisitions often create mixed fleets.

One company may operate vans. Another may use box trucks, trailers, pickups, service vehicles, specialty equipment, or leased assets. Some vehicles may have full wraps. Others may only have decals, magnets, reflective markings, or door graphics.

That mix makes rebranding harder because one design rarely works across every asset.

A layout that looks good on a box truck may not fit a service van. A logo that works on a flat trailer may not work across windows, handles, door seams, sensors, fuel doors, or body curves. In addition, older vehicles may have damage, faded paint, or existing graphics that need removal before new branding can go on.

So, even if the new brand standards look clean in a presentation, the fleet still needs practical adaptation.

Old Brand Marks Stay Visible Longer Than People Expect

During a merger or acquisition, companies often underestimate how long old branding can stay in the field.

A vehicle may miss the first rollout window. A branch may delay installation because it needs the vehicle for daily work. A local vendor may only update part of the graphics. A damaged vehicle may sit at a body shop. A leased unit may need a different approach.

Meanwhile, customers keep seeing the old brand.

That creates confusion. It can make the acquisition look incomplete, especially when customers see old logos in one market and new graphics in another. For private equity-backed companies building a stronger platform brand, that inconsistency can weaken the message they are trying to send.

Local Vendors Can Create Inconsistent Results

After an acquisition, local teams may already have their own vendor relationships. That can help with speed, but it can also create consistency problems.

One vendor may use different materials. Another may interpret the artwork differently. A third may install the graphics without the same proofing process. Over time, the fleet starts to look close enough in some places and noticeably different in others.

That is where brand control breaks down.

A national rebrand needs clear standards for materials, color, placement, installation, proof photos, and repair. Otherwise, local execution can turn one approved brand into several slightly different versions.

Outdated Specs Slow Everything Down

A rebrand after a merger also exposes old or incomplete specifications.

Teams may not have current vehicle templates. They may not know which material was used on older graphics. They may not have production files for acquired vehicles. They may not know which assets need reflective markings, DOT numbers, unit numbers, or local compliance decals.

As a result, people waste time hunting for files, recreating layouts, checking measurements, or correcting mistakes after installation.

That slows down the rollout and increases the risk of rework.

Timelines Get Messy When Vehicles Stay in Service

Fleet rebranding does not happen in a vacuum. Vehicles still need to work.

That means every installation competes with routes, service calls, delivery schedules, driver availability, maintenance windows, and regional operations. In some cases, the best installation window may happen at night, over a weekend, or during scheduled downtime.

So, the rollout plan has to respect the operation.

If the plan only focuses on the brand launch date, it may miss the practical question that matters most to fleet teams: when can we actually get the vehicle?

How to Keep Fleet Rebranding From Failing

A successful fleet rebrand after a merger starts with visibility.

Before teams order graphics or schedule installations, they need a clear view of the fleet. That means building an asset list, confirming vehicle types, documenting current graphics, prioritizing markets, and deciding which vehicles need immediate updates.

From there, the company can build a more realistic rollout plan.

1. Start With a Fleet Audit

First, identify every branded asset that may need attention.

That includes:

  • Vans
  • Box trucks
  • Trailers
  • Pickups
  • Service vehicles
  • Specialty vehicles
  • Leased vehicles
  • Rental or temporary assets
  • Equipment with visible branding
  • Branch-specific vehicles

Then, document where each asset is, what brand it currently carries, and what condition it is in.

A clean fleet audit helps teams avoid one of the most common acquisition mistakes: launching the new brand before they know what needs to change.

2. Prioritize the Vehicles Customers See Most

Next, decide which vehicles matter most to the rollout.

Not every asset carries the same visibility or risk. Some vehicles operate in high-density markets. Others visit customer sites every day. Some represent the acquired brand in markets where the new company wants to make a strong impression quickly.

Prioritize vehicles based on visibility, customer impact, geography, and business need.

That way, the rollout does not treat every asset the same when some vehicles matter more to the brand story.

3. Create Clear Graphics Standards

Once the team understands the fleet, create clear graphics standards.

Those standards should include:

  • Logo placement
  • Color specifications
  • Material requirements
  • Reflective graphic requirements
  • Unit number placement
  • DOT or compliance markings
  • Vehicle-specific layouts
  • Installation standards
  • Proof photo requirements
  • Repair and replacement process

This gives internal teams, vendors, installers, and local branches the same playbook.

4. Plan Around Operations

Then, build the rollout around how the fleet actually works.

Ask practical questions early:

  • When can vehicles come out of service?
  • Can installation happen overnight?
  • Which markets need mobile installation?
  • Which assets need body repair or graphics removal first?
  • Which vehicles will retire soon?
  • Which leased vehicles need temporary or removable graphics?
  • Who approves completed work?

This step matters because missed installation windows can derail the schedule quickly.

5. Track the Rollout in One Place

Finally, track the rebrand from one central source of truth.

A spreadsheet may work for a small fleet, but it can fall apart when the company has hundreds or thousands of vehicles across multiple markets.

Teams need to know which vehicles are planned, scheduled, in progress, completed, delayed, damaged, or missing information. They also need proof that each vehicle received the right graphics.

Without that visibility, the rollout becomes a series of emails, photo folders, local updates, and status calls.

Why This Matters for Private Equity-Backed Companies

Private equity-backed companies often use acquisitions to build scale. However, the market needs to see that scale clearly.

A fleet rebrand can help communicate that the company is bigger, more unified, and more capable than before. But if vehicles keep showing different names, different logos, and different messages, the market gets a mixed signal.

That matters for customers. It matters for employees. It also matters for future acquisitions because brand consistency helps the platform feel organized, disciplined, and ready to grow.

In other words, fleet branding is not just a design task. It is part of post-acquisition integration.

How Signature Helps With Rebranding After Merger Fleet Rollouts

Signature Graphics helps companies manage fleet rebrands when the work moves from strategy to execution.

That means helping teams identify what is on the road, adapt designs across vehicle types, produce consistent graphics, coordinate installation, and document completed work.

For companies going through a merger or acquisition, that kind of support matters. The brand may change in one meeting, but the fleet changes one asset at a time.

The goal is simple: help the new brand show up correctly, consistently, and visibly across every vehicle that represents the company.

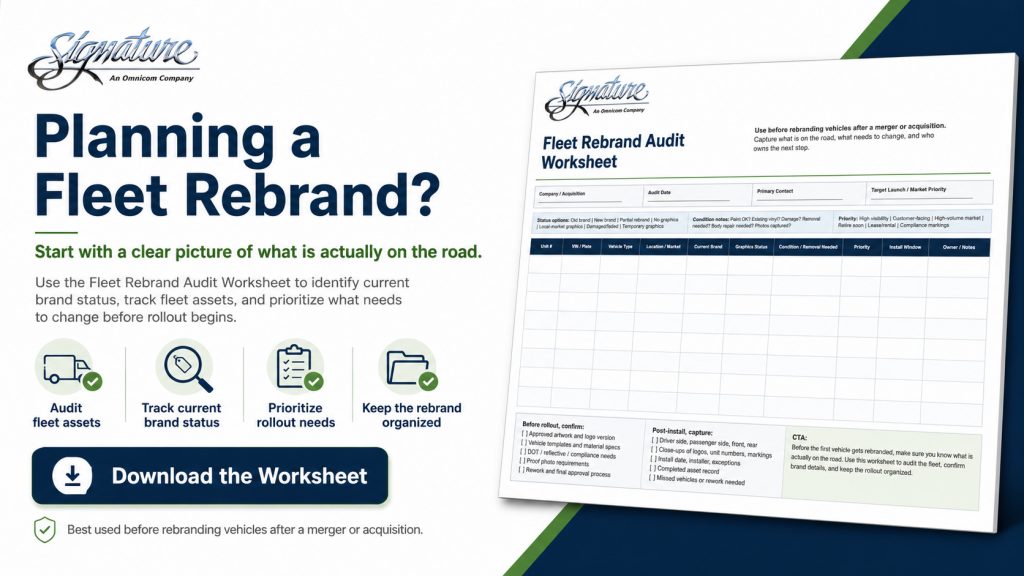
Use the Fleet Rebrand Audit Worksheet to identify what you have, what needs to change, and which vehicles should move first.

FAQs About Fleet Rebranding After Merger

What is fleet rebranding?

Fleet rebranding means updating vehicle graphics, decals, wraps, markings, and related brand elements after a company changes its name, logo, ownership, or brand identity.

Why does fleet rebranding get harder after an acquisition?

Fleet rebranding gets harder after an acquisition because the company may inherit unknown assets, old graphics, inconsistent records, local vendors, mixed vehicle types, and different brand standards.

What should companies do before rebranding acquired fleet vehicles?

Companies should start with a fleet audit. They need to identify each vehicle, confirm its location, document its current graphics, check its condition, and decide whether it needs removal, replacement, temporary branding, or a full graphics update.

How Long Does Rebranding After Merger Take for Fleet Vehicles?

The timeline depends on the fleet size, vehicle locations, graphics complexity, installation access, material availability, and operational schedules. A small regional fleet may move quickly, while a national fleet may need a phased rollout.

Who should manage fleet branding during an acquisition?

Fleet branding usually needs input from marketing, fleet, operations, procurement, finance, and local branch teams. However, one central team should own the process so vendors, installers, and internal stakeholders work from the same plan.

Posted in NewsTagged , , , , , , , , ,

Vehicle Wrap Repair After an Accident: What You Should Know

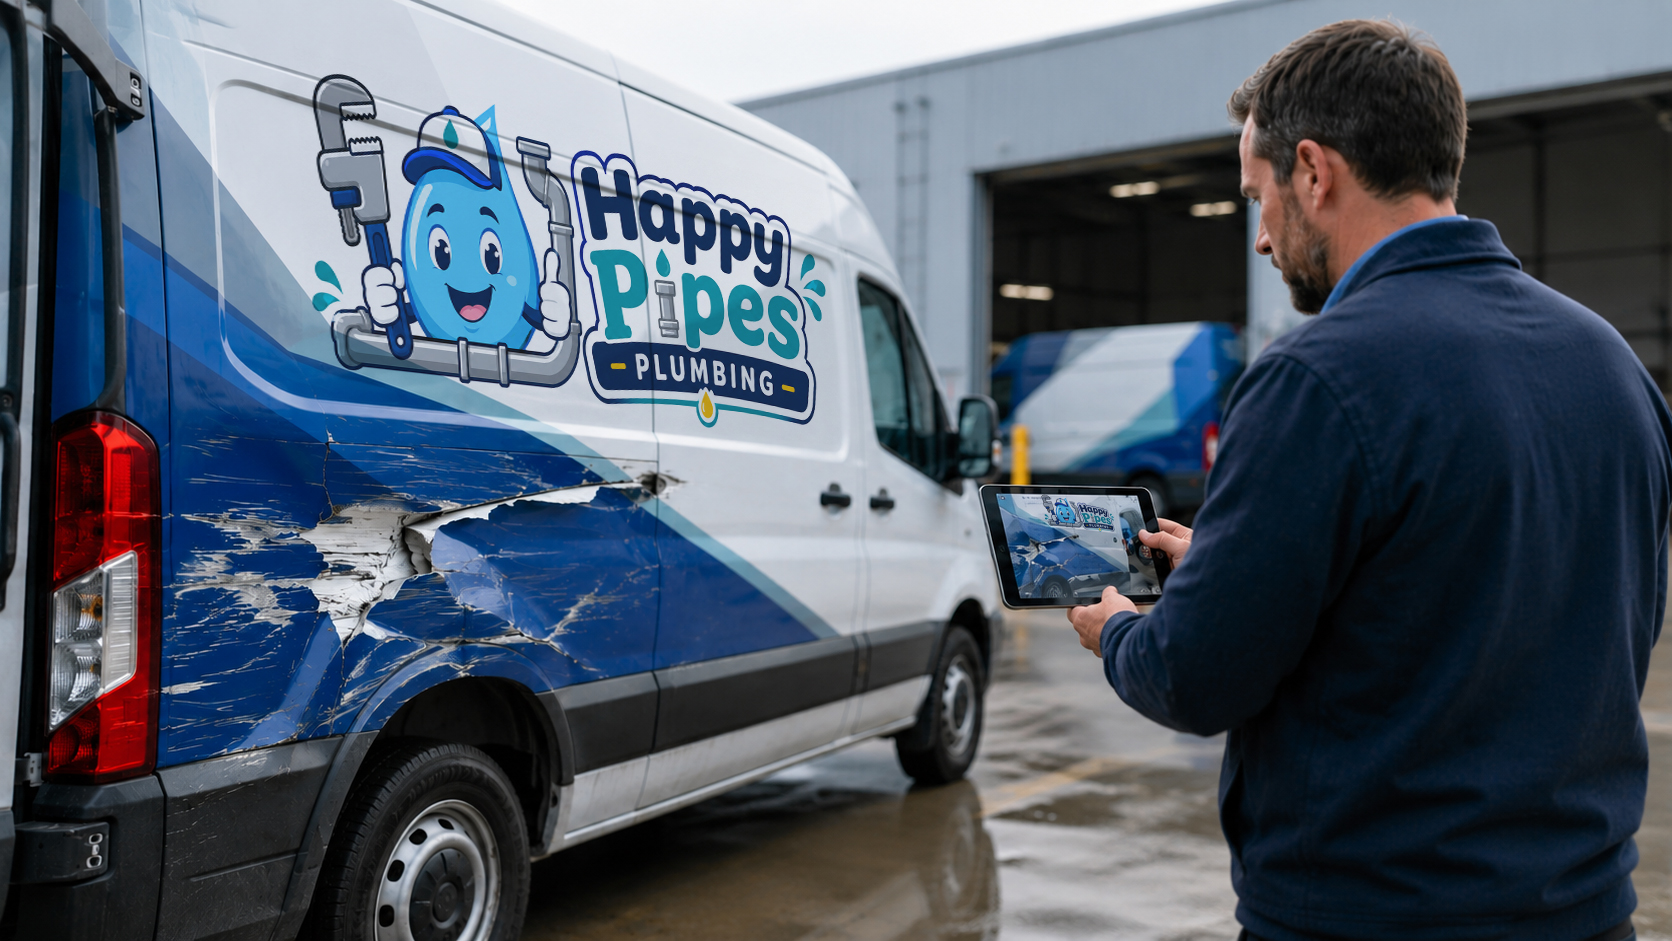
When a branded fleet vehicle gets damaged, the first priority is clear: repair the vehicle, handle any needed vehicle wrap repair, and get it back on the road.

From there, the practical questions usually come next. How bad is the damage? How long will the vehicle be out of service? What does insurance need?

However, if that vehicle carries graphics, decals, reflective markings, or a full wrap, the repair involves more than the vehicle itself. The brand needs attention too.

A collision, scrape, panel replacement, or body shop repair can leave a branded vehicle looking mismatched or unfinished. So for fleet managers and brand owners, the job is not just to fix the vehicle. They also need to make sure the brand looks right when the repair is complete.

That is where good documentation comes in.

What Is Vehicle Wrap Repair?

Vehicle wrap repair means replacing, repairing, or reinstalling graphics after damage affects part of a wrapped or branded vehicle.

Depending on the damage, that may include:

  • Replacing graphics on a repaired door, hood, bumper, or side panel
  • Matching new vinyl to the graphics already on the vehicle
  • Reprinting damaged decals or lettering
  • Reapplying DOT numbers, reflective graphics, or compliance markings
  • Removing damaged wrap material before body work begins
  • Reinstalling graphics after paint or collision repair
  • Confirming the finished vehicle still matches brand standards

On one vehicle, that may sound simple. However, for a national fleet, the process can get complicated fast.

For example, different vehicles may carry different graphic versions. Some may still use older brand standards. Others may include local phone numbers, unit numbers, safety markings, or campaign-specific graphics.

Because of that, good records matter. Without them, what should be a straightforward repair can quickly turn into guesswork.

Why Documentation Matters After Fleet Vehicle Damage

After an accident, teams often focus on the vehicle first and the graphics second. The vehicle goes to the body shop, the shop repairs or replaces panels, paint work gets finished, and then someone realizes the branding still needs attention.

That creates problems.

Without clear photos, original artwork, installation records, or vehicle history, teams have a harder time answering basic questions:

  • What graphics were on the vehicle before the damage?
  • Which panels did the damage affect?
  • Did the accident damage the wrap, or did damage happen during repair?
  • What material did the original installation use?
  • Was the graphic reflective, laminated, temporary, removable, or permanent?
  • Did the damaged panel include unit numbers, safety markings, or brand messaging?
  • Does the repaired vehicle still match the rest of the fleet?

That is why good documentation matters. It keeps fleet, operations, insurance, and brand teams working from the same information. While it does not guarantee claim coverage, since every policy works differently, it does make the repair process much cleaner.

What to Document Before Vehicle Wrap Repair

Before anyone removes, covers, or repairs damaged graphics, fleet managers should capture the vehicle’s condition as clearly as possible.

At minimum, document the following:

Full Vehicle Photos

First, take wide photos of every side of the vehicle, not just the damaged area. These photos show how the graphics fit the full asset and help the repair team confirm what needs replacement.

Capture:

  • Driver side
  • Passenger side
  • Front
  • Rear
  • Roof, if graphics are present
  • Any trailer, cab, or specialty equipment areas

Close-Ups of the Damage

Next, take detailed photos of the damaged panels, scratches, dents, tears, peeling vinyl, lifted edges, or missing graphics.

Also, photograph the damage from multiple angles. A close-up alone does not give the repair team enough context. They need to see exactly where the damage sits on the vehicle and how it relates to doors, seams, panels, bumpers, and body lines.

Unit Number, VIN, and Location

Then, tie every damaged vehicle to a specific asset record.

Document:

  • VIN
  • Unit number
  • License plate
  • Vehicle make, model, and year
  • Location or market
  • Date of damage
  • Date photos were taken

This step matters because many fleet vehicles look alike. If several white vans or box trucks go through repair at the same time, clear identification helps everyone avoid confusion.

Existing Brand Details

Finally, capture any brand details that could affect reprinting or replacement before vehicle wrap repair begins.

That may include:

  • Logo placement
  • Color breaks
  • Taglines
  • Service lines
  • Phone numbers
  • Website URLs
  • QR codes
  • Reflective graphics
  • DOT numbers
  • Decal placement
  • Campaign-specific graphics

These details can disappear quickly once a shop removes or paints the damaged panel. When the graphics team sees them upfront, they can restore the vehicle more accurately.

What Installation Records Should Include

A strong vehicle wrap repair process starts long before an accident happens. It starts with good installation records.

For branded fleets, those records should include:

  • Approved artwork files
  • Vehicle templates
  • Material specifications
  • Laminate specifications
  • Install date
  • Installer or installation location
  • Proof photos
  • Asset number or VIN
  • Any exceptions or field adjustments
  • Repair or replacement history

These records give the graphics provider a clear starting point when repair work comes up.

Without them, the team may need to recreate the layout from photos, estimate placement, or hunt down old artwork. That slows the repair down and increases the chance of an inconsistent result.

Why Vehicle Wrap Repair Is Not Always a Simple Reprint

A lot of people assume damaged graphics can simply be reprinted and replaced.

Sometimes they can. But not always.

A few things can change how the repair needs to happen:

Vinyl Ages Over Time

Sun, weather, road grime, and washing can change the look of vinyl over time. A newly printed panel may not match the older graphics already on the vehicle.

That matters most on large panels with solid brand colors. Even when the artwork file is right, the existing wrap may have faded enough to make the repair noticeable.

Damage Can Cross Multiple Panels

A scrape may look like it only affects one spot, but the graphic may run across doors, seams, or body lines. If the repair team replaces only one small section, the design may not line up correctly.

Paint and Body Work Can Change the Surface

When a body shop repairs, replaces, or repaints a panel, the surface may need time to cure before new graphics go on. If the graphics are installed too soon, the vinyl may not adhere properly or may fail later.

Different Vehicles Need Different Layouts

Fleet graphics are not one-size-fits-all. A Ford Transit, Ram ProMaster, Chevrolet Express, box truck, trailer, or service van may each need a different layout.

That is why accurate vehicle data matters. It helps the repair team replace the right graphics, in the right place, on the right vehicle.

How Insurance Claims and Graphics Repair Overlap

Insurance claims usually focus on the vehicle damage first. But when the vehicle carries branded graphics, the repair scope may need to include the wrap too.

That is why documentation matters.

When branded graphics are damaged, the repair estimate should account for:

  • Removing damaged wrap material
  • Reprinting affected graphics
  • Reinstalling graphics after body repair
  • Replacing reflective or safety markings
  • Matching the repaired area to the approved brand standard
  • Providing proof photos after completion

Don’t assume the body shop, insurer, graphics provider, and internal brand team all have the same information.

They usually don’t.

Gather the documentation early and confirm the graphics scope before anyone considers the repair complete.

What Can Go Wrong Without Good Documentation

Poor documentation can create avoidable problems after a vehicle accident.

For example:

  • The wrong graphic version gets reprinted
  • A repaired vehicle returns to service with missing branding
  • A local vendor recreates artwork incorrectly
  • The replacement panel does not match the rest of the fleet
  • DOT or reflective markings are missed
  • The brand team cannot confirm the repair was completed correctly
  • Insurance, fleet, and operations teams disagree about what was damaged
  • The vehicle is repaired mechanically but still looks unfinished

These issues are frustrating because they usually happen after everyone thinks the problem is solved.

The vehicle may be road-ready, but not brand-ready.

Best Practices for Fleet Vehicle Wrap Repair

Fleet managers can make repairs easier when they give every team a clear process for documenting damage and handling graphics repair.

A strong process should include:

1. Photograph the vehicle before anyone removes anything.
Start with the full vehicle, then capture the damaged area, unit number, and close-ups.

2. Identify the exact asset.
Next, match the damage to the VIN, unit number, location, and graphics version.

3. Confirm which graphics the damage affected.
Do not rely only on the body shop’s repair scope. Instead, check the graphics separately so nothing gets missed.

4. Check the compliance markings.
DOT numbers, reflective graphics, safety decals, and other required markings may also need replacement.

5. Use approved artwork and material specs.
Whenever approved files already exist, use them. That helps the team avoid recreating brand graphics from scratch.

6. Coordinate the timing with body repair.
New paint, surface prep, and vehicle availability can all affect when graphics can go back on the vehicle.

7. Require final proof photos.
Before closing the job, confirm that the repaired graphics match the approved layout.

Why This Matters More for Large Fleets

For a small business with one or two vehicles, the team can usually manage a graphics repair by hand.

But with larger fleets, the process gets harder fast.

A national fleet may have hundreds or thousands of vehicles spread across different regions. Damage can happen in several markets at once. Different body shops may handle the repairs. Local teams may not know which brand standards to follow.

That is when centralized records matter. They give everyone the same information before repairs start, while work is happening, and after the vehicle goes back on the road.

Fleet graphics are not just a design file. They are part of the asset history. When damage, repairs, removals, rebrands, or replacements happen, someone needs to know what changed and whether the vehicle was restored correctly.

How Signature Helps With Vehicle Wrap Repair and Documentation

Signature Graphics keeps fleet graphics programs organized before, during, and after installation.

When damage happens, we help teams connect the vehicle, the approved artwork, the damaged area, the replacement graphics, and the final proof of completion.

That visibility matters when several teams touch the same repair.

The goal is simple: repair the vehicle, restore the brand correctly, and prevent confusion the next time that asset needs service.

Use this checklist to document damage, guide repairs, and help protect brand consistency.

FAQs About Vehicle Wrap Repair

Can you repair a damaged vehicle wrap?

Yes. In many cases, a graphics provider can repair a damaged vehicle wrap by replacing the affected section or panel.

However, the right approach depends on a few things: where the damage happened, how old the existing graphics are, what material the original wrap used, and whether the vehicle also needs body or paint repair.

Does insurance cover vehicle wrap repair?

It depends on the insurance policy, the claim, and how the team documented the graphics.

Because coverage can vary, fleet managers should check with their insurance provider. Still, good photos, installation records, and repair documentation can help show what the damage affected and what needs replacement.

Can you replace only one section of a vehicle wrap?

Sometimes. If the damage affects one isolated area, the graphics provider may be able to replace only that section.

However, a partial repair does not always blend perfectly. Color aging, panel alignment, material availability, and design placement can all affect whether the repaired section matches the rest of the vehicle.

What photos should I take after fleet vehicle damage?

Start with full photos of the vehicle from every side. Then take close-ups of the damage, the unit number, the VIN or license plate, and any affected graphics.

Also, capture decals, reflective markings, compliance information, and any brand details that may need replacement.

Should vehicle graphics come off before body repair?

In many cases, yes. The body shop may need to remove damaged graphics before it repairs or paints the vehicle.

Because timing matters, the body shop and graphics provider should coordinate the work. That way, the repaired surface is ready when new graphics need to go on.

How long does vehicle wrap repair take?

The timeline depends on the damage, artwork availability, material availability, body shop schedule, paint cure time, and installation access.

However, approved artwork and clear documentation can help the team avoid delays and move the repair forward faster.