Discover the best practices for fleet graphics removal without damaging your vehicle’s surface. Learn the step-by-step process and essential tips for a clean finish.
Removing fleet graphics can be a daunting task, especially if you’re worried about damaging your vehicle’s surface. Whether you’re updating your branding, replacing old graphics, or returning leased vehicles, proper removal is crucial. In this article, we’ll guide you through the best practices and tips for removing fleet graphics, ensuring a clean and professional finish.
1. Gather the Necessary Tools
Before you start, make sure you have all the necessary tools on hand. The right equipment can make the process smoother and prevent potential damage to your vehicle.
Tools You’ll Need:
Heat gun or hairdryer
Plastic scraper or squeegee
Adhesive remover
Cleaning cloths
Mild soap and water
Gloves
2. Assess the Condition of the Graphics
Examine the condition of the graphics before you begin. Older graphics might be more brittle and harder to remove, while newer ones may come off more easily. Understanding the state of the graphics can help you determine the best approach for removal.
3. Heat the Graphics
Heating the graphics is a crucial step that helps loosen the adhesive, making it easier to peel off the vinyl without tearing it.
Steps:
Turn on your heat gun or hairdryer to a medium setting.
Hold the heat source about 6-12 inches away from the graphic.
Move the heat source in a back-and-forth motion to evenly distribute the heat.
Heat a small section of the graphic for about 30-60 seconds.
4. Peel Off the Graphics
Once the adhesive is warm and pliable, you can start peeling off the graphics.
Steps:
Begin at one corner of the graphic.
Use a plastic scraper or your fingers to lift the edge.
Slowly peel back the vinyl at a 45-degree angle. Pulling too quickly or at a sharp angle can cause the vinyl to tear.
Continue heating and peeling in small sections to ensure the adhesive stays pliable.
5. Remove Residual Adhesive
After removing the graphics, you’ll likely find some adhesive residue left on the vehicle’s surface. Removing this residue is essential for a clean finish.
Steps:
Apply adhesive remover to a clean cloth.
Gently rub the cloth over the adhesive residue.
Allow the adhesive remover to sit for a few minutes, softening the residue.
Use a plastic scraper to carefully lift the softened adhesive.
Repeat the process until all residue is removed.
6. Clean the Surface
Once all the graphics and adhesive residue are removed, it’s time to clean the surface thoroughly.
Steps:
Mix mild soap with water to create a cleaning solution.
Use a clean cloth to wash the area, removing any remaining adhesive remover and dirt.
Rinse with clean water and dry with a soft cloth.
7. Inspect for Damage
After cleaning, inspect the vehicle’s surface for any signs of damage. While following the proper removal techniques should prevent most issues, it’s important to check for any scratches or discoloration.
8. Professional Removal Services
While DIY removal is possible, sometimes professional help is the best option, especially for large fleets or stubborn graphics. Professionals have specialized tools and experience to ensure a flawless finish without risking damage to your vehicles.
Conclusion
Fleet graphics removal can be a daunting and delicate task, particularly if you’re concerned about damaging your vehicle’s surface. The process involves more than just peeling off vinyl; it requires careful handling to avoid paint damage, scratches, or adhesive residue that can mar the vehicle’s appearance. Whether you’re updating your branding, replacing outdated graphics, or preparing to return leased vehicles, proper removal is essential to maintain your vehicle’s pristine condition.
While it might seem like a task you can handle yourself, the reality is that DIY removal can often lead to costly mistakes. Professional removal services ensure that the job is done efficiently and safely, using specialized tools and techniques that protect your vehicle’s finish. Our experts are trained to assess the condition of the graphics and the underlying surface, apply the correct amount of heat, and use the right tools to gently lift the vinyl without causing damage.
By leaving the removal to professionals, you can avoid the risk of tearing the vinyl, leaving behind stubborn adhesive residue, or even causing paint damage that requires expensive repairs. Professionals not only guarantee a clean and professional finish but also save you time and hassle, allowing you to focus on more critical aspects of your business.
In summary, while the article provides an overview of best practices and tips for removing fleet graphics, the safest and most efficient route is to trust the professionals. Contact us today for expert fleet graphics removal and ensure your vehicles remain in top condition.
FAQs
1. What tools do I need for removing fleet graphics?
To remove fleet graphics without damaging your vehicle’s surface, you’ll need a heat gun or hairdryer, a plastic scraper or squeegee, adhesive remover, cleaning cloths, mild soap and water, and gloves. These tools help ensure a smooth and damage-free removal process.
2. How can I safely heat the graphics to loosen the adhesive?
Using a heat gun or hairdryer on a medium setting, hold the heat source about 6-12 inches away from the graphic. Move the heat source in a back-and-forth motion to evenly distribute the heat, and heat a small section of the graphic for about 30-60 seconds. This helps to loosen the adhesive and makes peeling off the vinyl easier.
3. What should I do if there’s adhesive residue left on the vehicle after removing the graphics?
After peeling off the graphics, apply adhesive remover to a clean cloth and gently rub it over the adhesive residue. Allow the remover to sit for a few minutes to soften the residue, then use a plastic scraper to lift the softened adhesive. Repeat as necessary until all residue is removed.
4. How do I inspect the vehicle for damage after removing the graphics?
Once all graphics and adhesive residue are removed, mix mild soap with water to clean the surface thoroughly. After washing and drying the area, inspect the vehicle’s surface for any signs of damage, such as scratches or discoloration. Proper removal techniques should minimize damage, but it’s important to check carefully.
5. When should I consider professional fleet graphics removal services?
Consider professional removal services if you have a large fleet, stubborn graphics, or if you’re concerned about potential damage. Professionals use specialized tools and techniques to ensure a flawless finish without risking damage to your vehicles. This option is often more efficient and safer, especially for complex or extensive removal tasks.
We proudly use 3MTM graphic films and overlaminates.
Avoid costly mistakes with our guide to common fleet graphics installation fails. Learn from others’ errors and ensure a flawless application.
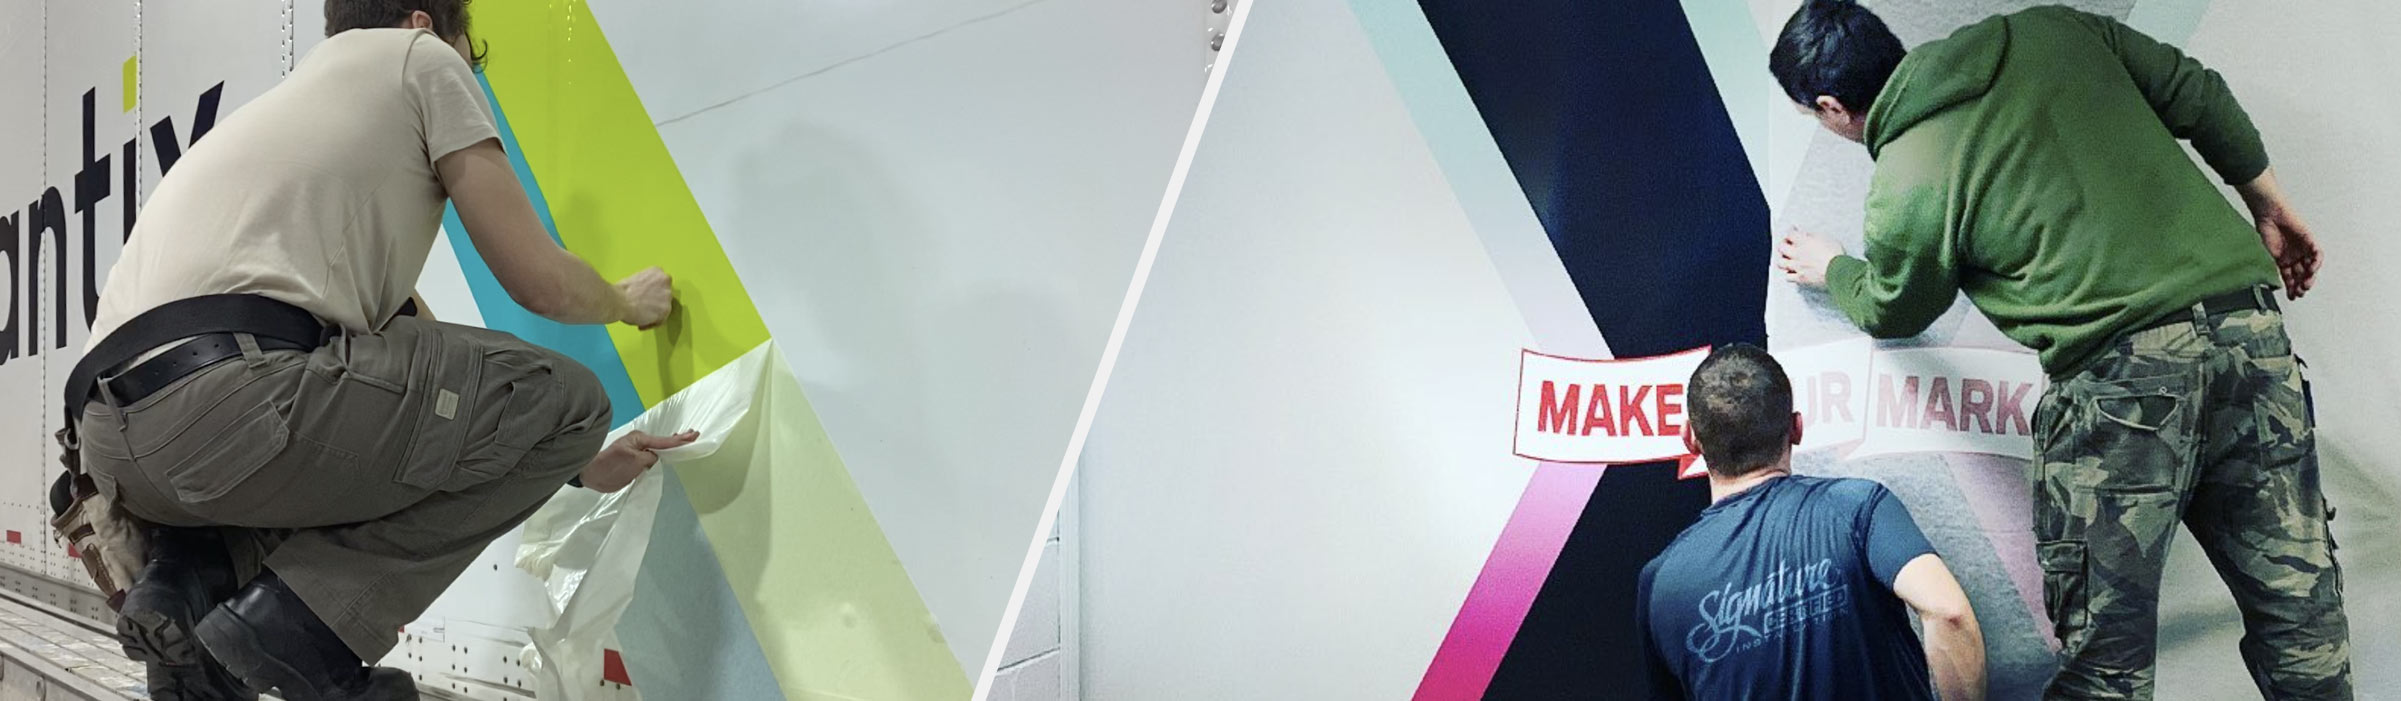
Even the best-laid plans can go awry – as the experts, we have some tips to avoid fleet graphics installation fails. When it comes to fleet graphics installation, the path to perfection is often fraught with unexpected errors and common pitfalls. While the idea of a DIY installation might seem appealing, the reality can be quite different. Here’s why trusting professionals like us can save you time, money, and a whole lot of frustration. Let’s dive into some of the most frequent fleet graphics installation fails and the valuable lessons we’ve learned from them.
1. Poor Surface Preparation
Lesson Learned: Leave the prep work to the pros.
A common mistake in fleet graphics installation is not adequately preparing the vehicle’s surface. When dirt, grease, and residues are left behind, they can prevent the adhesive from bonding properly, leading to unsightly bubbles and peeling that compromise the graphics’ appearance and durability. Our team mitigates this risk by meticulously cleaning and preparing every vehicle. We use specialized cleaning agents to remove all contaminants, ensuring a pristine surface for flawless application. This thorough preparation is crucial for achieving a smooth, long-lasting finish that maintains the integrity and visual appeal of the graphics.
Why Trust Us:
We use industry-grade degreasers and surface preparation solutions.
Our team ensures the surface is completely dry and contaminant-free.
We have the expertise to spot and address any prep issues that could compromise the installation.
2. Incorrect Measurements
Lesson Learned: Precision requires professional tools and expertise.
Misjudging dimensions during fleet graphics installation can result in misaligned graphics, wasted materials, and significant frustration. Ensuring that the graphics fit seamlessly on a vehicle requires a high level of precision. Without accurate measurements, the final result can look unprofessional and require costly corrections. Our professionals, equipped with extensive experience and specialized tools, guarantee that each graphic is measured and applied with exacting precision. By getting it right the first time, we not only save materials and reduce waste but also ensure that the graphics enhance the vehicle’s appearance and maintain brand integrity.
Why Trust Us:
We double-check all measurements using advanced tools.
Our templates and methods ensure perfect alignment.
We have the experience to handle even the most complex designs.
3. Ignoring Temperature and Environmental Conditions
Lesson Learned: Professionals understand the importance of perfect conditions.
Applying graphics in extreme temperatures or in dusty, windy environments can significantly compromise their adhesion and longevity. When graphics are exposed to such unfavorable conditions, the adhesive may not bond properly, leading to peeling, bubbles, and a reduced lifespan. To prevent these issues, we conduct installations in controlled environments where temperature, humidity, and cleanliness are carefully managed. This ensures the best possible conditions for applying fleet graphics, allowing for a perfect bond and a durable finish that withstands the elements and maintains its visual appeal over time.
Why Trust Us:
We apply graphics in temperature-controlled environments.
We know the ideal conditions for the best adhesive properties.
We have the facilities to avoid environmental challenges.
4. Rushing the Application Process
Lesson Learned: Rushed jobs lead to costly mistakes.
Hurrying through the installation process often results in bubbles, wrinkles, and misaligned graphics, which can significantly detract from the appearance and effectiveness of fleet graphics. Taking the necessary time to complete each step correctly is crucial for achieving a flawless finish. Our professionals are committed to meticulous application, dedicating the required time and attention to ensure that every graphic is applied perfectly. By not rushing the process, we ensure that the graphics are smooth, correctly aligned, and free of imperfections, ultimately enhancing the overall look and durability of the vehicle’s branding.
Why Trust Us:
We allocate ample time for each installation.
Our methodical approach ensures no steps are skipped.
We follow manufacturer instructions to the letter.
5. Using the Wrong Tools
Lesson Learned: The right tools are essential for a quality job.
Using subpar or incorrect tools can significantly compromise the quality of your fleet graphics installation, leading to poor adhesion, visible flaws, and a less professional appearance. Recognizing the importance of precision and quality, we invest in the best tools available to ensure that every graphic is installed perfectly. Our top-of-the-line equipment enables us to achieve clean cuts, smooth applications, and robust adhesion, which are critical for long-lasting and visually appealing graphics. By prioritizing the use of high-quality tools, we can guarantee that our installations meet the highest standards and provide a superior finish that enhances the vehicle’s overall look.
Why Trust Us:
We use high-quality squeegees, knives, and rulers.
Our heat guns and other tools are industry-standard.
We are equipped for any type of installation, simple or complex.
6. Overstretching the Vinyl
Lesson Learned: Vinyl has limits that professionals respect.
Overstretching the vinyl during application can cause it to retract over time, resulting in edges lifting and creating unsightly gaps that compromise the appearance and durability of the graphics. Our professionals understand the limits of the materials and apply them with the precision and care required to avoid these issues. By using the correct techniques and ensuring that the vinyl is stretched only as much as necessary, we prevent future retraction and maintain a seamless, long-lasting finish. This expertise ensures that the graphics adhere perfectly, preserving the vehicle’s aesthetics and providing a robust representation of your brand.
Why Trust Us:
We gently stretch vinyl only as needed.
We use heat to mold vinyl to complex shapes without overstretching.
Our experience ensures the material conforms perfectly without stress.
7. Failing to Post-Heat and Seal Edges
Lesson Learned: Finishing touches make all the difference.
Skipping the post-heating step or failing to properly seal the edges during fleet graphics installation can lead to premature lifting and peeling, significantly reducing the lifespan and visual appeal of the graphics. Post-heating helps to set the adhesive, ensuring a stronger bond, while sealing the edges prevents dirt, moisture, and air from compromising the adhesion. Our team meticulously performs these crucial steps, ensuring that every edge is thoroughly sealed and post-heated to perfection. This attention to detail guarantees a durable, professional finish that maintains its integrity and appearance over time, providing long-lasting value for your fleet branding.
Why Trust Us:
We use heat guns to post-heat graphics after application.
We firmly seal edges to prevent dirt and moisture infiltration.
We follow manufacturer guidelines for post-heating temperatures.
8. Not Accounting for Vehicle Movement and Flexing
Lesson Learned: Vehicles need graphics that move with them.
Vehicles are constantly in motion, subjecting their graphics to continuous flexing and movement. This dynamic environment requires graphics that are both durable and flexible to maintain their appearance and adhesion over time. Our Signature Certified Installers apply graphics to withstand these stresses. By using high-quality materials and advanced application techniques, we ensure that the graphics can endure the rigors of daily use without peeling, cracking, or fading. This durability ensures that your fleet maintains a professional and consistent appearance, effectively representing your brand wherever the vehicles travel.
Why Trust Us:
We use flexible, high-quality vinyl designed for vehicles.
We pay extra attention to areas that experience more movement.
We regularly inspect and adjust our installations to ensure durability.
Conclusion
Avoiding fleet graphics installation fails requires the expertise, attention to detail, and professional-grade tools and techniques that we at Signature Graphics bring to every job. As an Omnicom Group agency, we pride ourselves on delivering exceptional quality and service. Our team of experts understands the intricacies of fleet graphics installation, from precise measurements and proper surface preparation to the careful application and post-installation processes. Leveraging Signature’s extensive experience and state-of-the-art equipment, ensures a flawlessly executed project. Learning from these common mistakes and trusting in our professional approach guarantees a smooth and successful application process, resulting in stunning graphics that stand the test of time and effectively promote your brand on the road.
Don’t risk costly errors with a DIY approach. Trust the professionals to deliver flawless results every time. Contact us today for a consultation and see how we can transform your fleet into a moving masterpiece.
FAQs
1. Why is proper surface preparation crucial for fleet graphics installation?
Proper surface preparation is essential because dirt, grease, and residues can prevent the adhesive from bonding correctly, leading to bubbles and peeling. Our team uses specialized cleaning agents to ensure the surface is pristine, which helps achieve a smooth, long-lasting finish.
2. How do you ensure accurate measurements for fleet graphics installation?
Accurate measurements are vital to prevent misaligned graphics and wasted materials. Our professionals use advanced tools and templates to double-check all dimensions, ensuring perfect alignment and a professional appearance for every installation.
3. What environmental conditions are ideal for applying fleet graphics?
Applying graphics in controlled environments where temperature, humidity, and cleanliness are managed is crucial. Extreme temperatures, dust, and wind can compromise adhesion and longevity. We ensure the best conditions to achieve a perfect bond and durable finish.
4. Why should the installation process not be rushed?
Rushing the installation process often results in bubbles, wrinkles, and misaligned graphics. Our professionals take the necessary time to complete each step meticulously, ensuring a flawless finish that enhances the vehicle’s branding and durability.
5. What tools are essential for high-quality fleet graphics installation?
Using the right tools is critical for a quality installation. We invest in high-quality squeegees, knives, rulers, and heat guns to ensure clean cuts, smooth applications, and robust adhesion. This approach guarantees a superior finish that maintains the vehicle’s overall look.
We proudly use 3MTM graphic films and overlaminates.