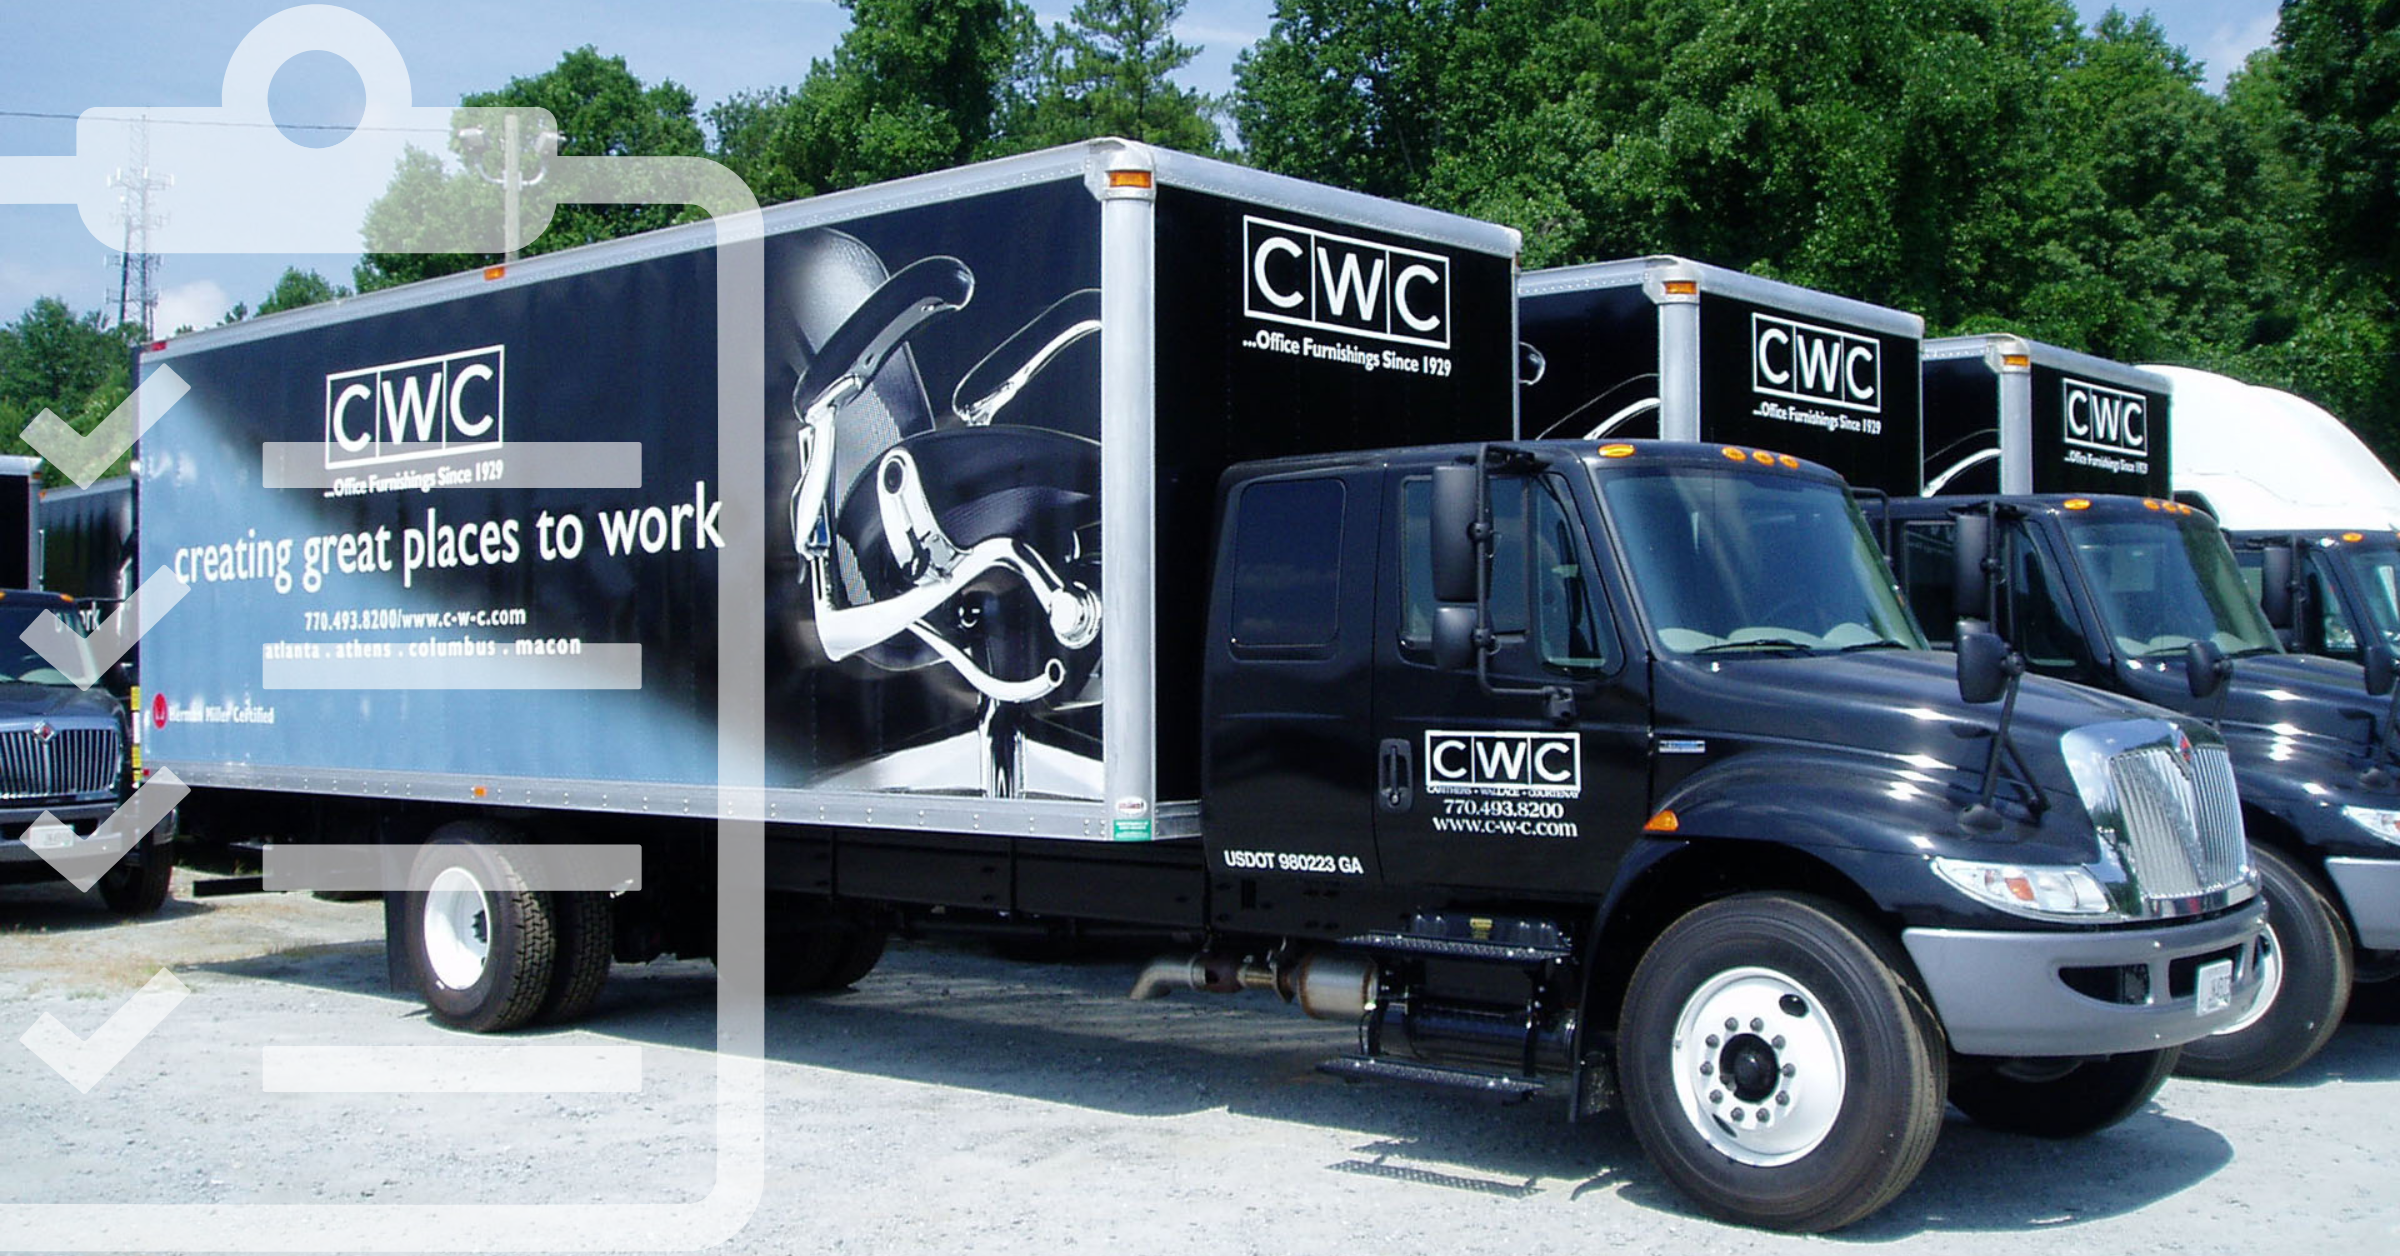
Fleet branding is one of the most impactful ways to get your business noticed on the road. From delivery vans and service trucks to semi-trailers and box trucks, your fleet is a moving billboard that can build brand recognition and drive customer engagement. But before your vehicles can hit the road with bold, professional graphics, there’s one critical step that can make or break the entire process: preparation.
To ensure a smooth and successful install, your team needs a solid game plan. This fleet branding checklist covers everything you should have in place before installation day—from creative assets to vehicle prep—to avoid delays and deliver flawless results.
1. Finalize Your Design Assets
Before installation can begin, all branding elements should be locked in and approved. This means your logo, colors, messaging, and graphic layout are not only finalized but tailored to the unique specs of each vehicle type. Even if your fleet consists of similar models, small differences can affect how the graphics are applied.
Design files should be high-resolution and preferably vector-based, ensuring that the graphics scale properly and maintain quality. It’s also important to confirm that your design team has accounted for elements like windows, door seams, and vehicle curves to avoid any surprises during installation. Working with a professional graphics partner during this phase can streamline the process and ensure everything is set up for success.
2. Assess Your Fleet
A detailed fleet audit will save you time and frustration later. Gather information on each vehicle’s make, model, year, and condition. Document any pre-existing graphics, rust, body damage, or modifications—these can all impact the installation process and timeline.
Even if you’ve wrapped vehicles in the past, it’s important to reassess before every install. A single aftermarket add-on, like a ladder rack or toolbox, can change how and where graphics can be applied. Photos of each vehicle, along with accurate measurements, are essential in helping your graphics team prepare properly.
3. Prep the Vehicles
Vehicle preparation is a step that’s often underestimated—but it’s one of the most important factors in ensuring long-lasting results. Vehicles should be thoroughly washed at least 24 hours prior to install, but avoid waxes, ceramic coatings, or sealants, as these can interfere with vinyl adhesion.
It’s also crucial that the vehicles are dry, clean, and free of any old adhesive or decals. Rust, peeling paint, or dents should be addressed beforehand, as these imperfections can prevent the wrap from adhering correctly or lead to premature failure. Your installer will likely do a final wipe-down, but the better the condition of the surface, the more efficient and effective the install will be.
4. Schedule Strategically
The logistics of your fleet install should be mapped out in advance. Consider how many vehicles can be out of service at a time and whether installations will happen on-site, off-site, or at multiple locations. If your vehicles are essential to daily operations, you might opt for after-hours or weekend installs to minimize disruption.
Clear communication around vehicle availability, installation of windows, and backup vehicle planning will help keep your operations running smoothly. Larger fleets may benefit from a phased rollout or dedicated project management support to ensure everything stays on track.
5. Work With Certified Installers
Not all installers are created equal. For something as high-impact as fleet graphics, it’s important to work with experienced, certified professionals who understand the nuances of vehicle wraps. Look for teams that are certified, with a proven track record in commercial fleet branding.
A strong installation partner will not only execute clean, high-quality installs but also provide additional services such as color matching, mock-up reviews, and post-install inspections. They may even offer warranties and care instructions to help your graphics last longer and look better over time.
6. Don’t Skip the Final Inspection
Once installation is complete, conduct a thorough walkthrough of each vehicle. Look for proper alignment, smooth edges, and clean application—especially around curves, door seams, and rivets. If anything looks off, address it immediately. Documenting the finished wrap with high-quality photos is a good way to confirm that all branding standards were met and to use in future marketing or training materials.
It’s also a good time to educate your drivers and team on proper wrap care, like avoiding high-pressure car washes or abrasive cleaning products. Simple maintenance steps can extend the life of your graphics and protect your investment.
7. Plan for the Long Term
Fleet branding isn’t a one-and-done project. Over time, wraps will fade, peel, or become damaged from road wear and tear. Building a plan for ongoing maintenance and future replacements helps you stay ahead of these issues. Keep records of installation dates, materials used, and warranty info so you know when it’s time for a refresh.
Consider keeping spare graphics on hand for quick fixes or touch-ups, especially for high-visibility or frequently used vehicles. Proactive maintenance means your fleet always presents a polished and professional image—no matter how many miles it’s covered.
Conclusion
With the right preparation, fleet branding can be one of your most effective marketing tools. Following a clear checklist helps you avoid common pitfalls, protect your investment, and ensure that every install is executed flawlessly.
At Signature Graphics, we offer end-to-end fleet branding solutions—from design and production to installation and logistics. Whether you’re wrapping five vans or 500 trucks, our team is ready to make the process smooth and stress-free.
Need help with your next fleet install?
Contact Signature Graphics to get started with a custom quote and project plan tailored to your brand.
We proudly use 3MTM graphic films and overlaminates.